
If you have a soft spot for crispy, buttery, and garlicky goodness, then you absolutely must try this Homemade Garlic Bread Recipe. It’s the perfect blend of crusty bread slathered with a rich, herb-infused garlic butter that melts beautifully as it bakes, resulting in a warm, fragrant treat that can elevate any meal or simply satisfy your snack cravings. This easy-to-make recipe uses simple ingredients to create a comforting classic that feels truly special every time you pull it out of the oven.
Ingredients You'll Need
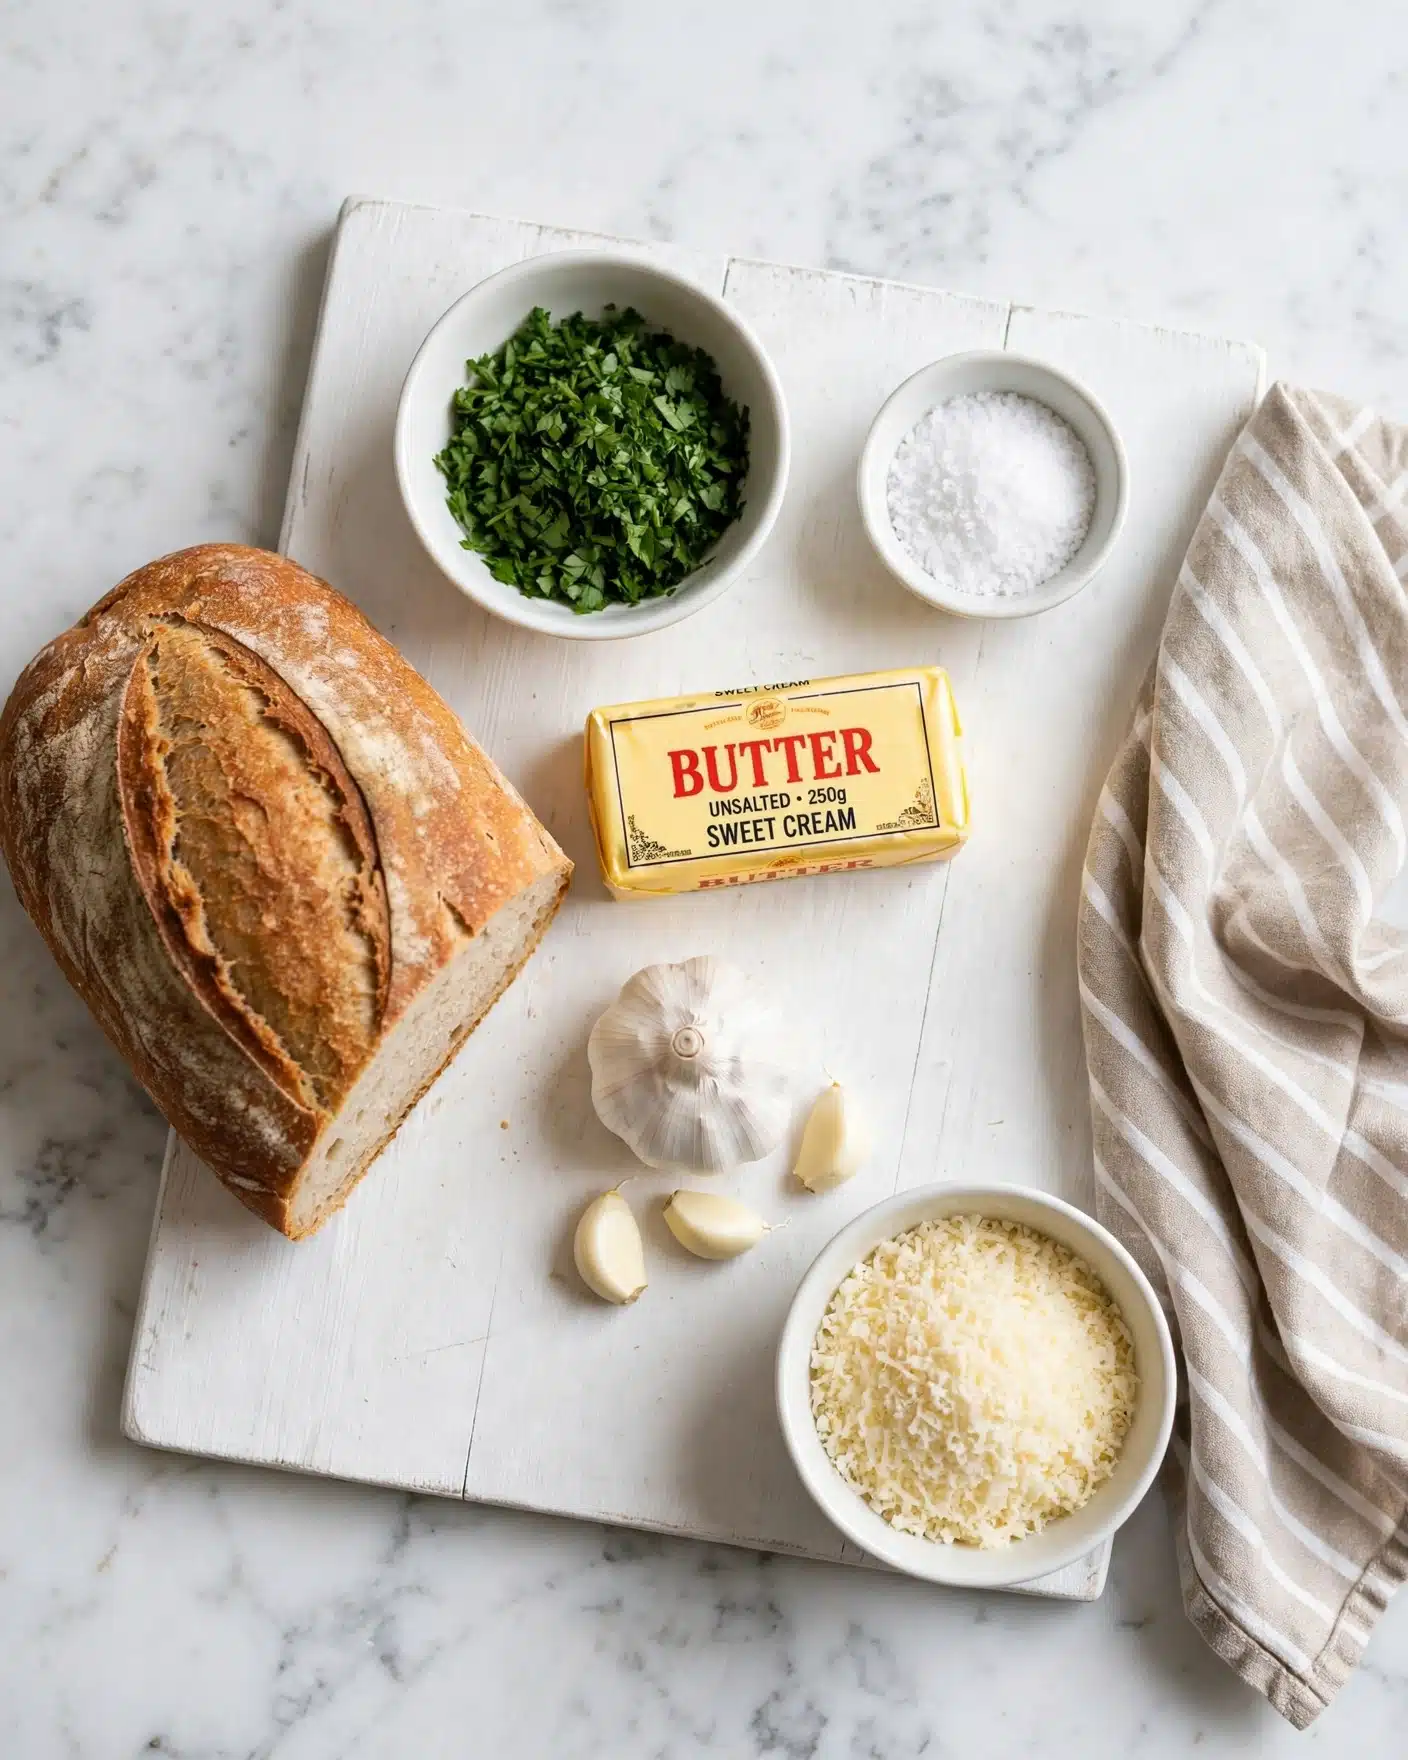
The ingredients for this Homemade Garlic Bread Recipe are straightforward and pantry-friendly, yet each one plays an essential role in delivering the perfect balance of flavor and texture. From the crusty bread that provides the satisfying crunch to the fresh parsley that adds a pop of color and brightness, every element counts.
- 12-ounce loaf of crusty bread: A sturdy base with a crunchy crust and soft interior that soaks up the garlic butter beautifully.
- ½ cup unsalted butter, softened: The creamy foundation that carries the garlic and herbs, ensuring every bite is rich and luscious.
- 1 Tablespoon finely chopped fresh parsley: Adds freshness and visual appeal, balancing the richness of the butter.
- 4 teaspoons finely minced fresh garlic: The star flavor, delivering that unmistakable pungent kick that garlic lovers adore.
- ¼ teaspoon flaky sea salt: Enhances all the flavors and gives a subtle crunch if you opt for flaky varieties.
- ⅓ cup freshly grated parmesan cheese (optional): Adds a nutty, salty depth to the butter for those who want an extra layer of flavor.
- Pinch of crushed red pepper flakes (optional): For a little heat that contrasts beautifully with the buttery garlic.
How to Make Homemade Garlic Bread Recipe
Step 1: Prepare Your Oven and Bread
Start by preheating your oven to 400ºF (204ºC). This temperature allows the bread to crisp up nicely without drying out. Then, slice your crusty loaf in half horizontally and place both halves cut-side up on a baking sheet lined with parchment paper or a silicone baking mat. This setup is essential for even baking and easy cleanup.
Step 2: Make the Garlic Butter Mixture
Next, whip together softened butter, freshly chopped parsley, minced garlic, sea salt, and parmesan cheese if you’re using it. You can use a handheld or stand mixer for a smooth, well-combined mixture, but if your butter is very soft, a sturdy fork works perfectly fine. The garlic and parsley infuse the butter with fresh, aromatic notes that are just irresistible.
Step 3: Spread the Garlic Butter Generously
Now comes the best part—spreading the creamy garlic butter evenly over every inch of the cut sides of your bread. Be generous to ensure each bite is packed with that luscious, flavorful coating. This step sets the stage for the magic that’s about to happen in the oven.
Step 4: Bake Until Golden and Crispy
Bake the bread for 16 to 18 minutes until the edges turn golden brown and the butter has soaked into the bread but not made it soggy. If you like your garlic bread extra crunchy, feel free to leave it in for a few minutes longer—it’s tough to go wrong here. The aroma during baking will already have your kitchen smelling incredible.
Step 5: Finish and Slice
Once baked, let your garlic bread cool briefly on the baking sheet—just enough to handle without burning your fingers. If you want to turn up the excitement, sprinkle a pinch of crushed red pepper flakes over the top for a subtle spicy kick. Then slice using a serrated bread knife into your preferred serving sizes. Serve warm for maximum comfort.
How to Serve Homemade Garlic Bread Recipe
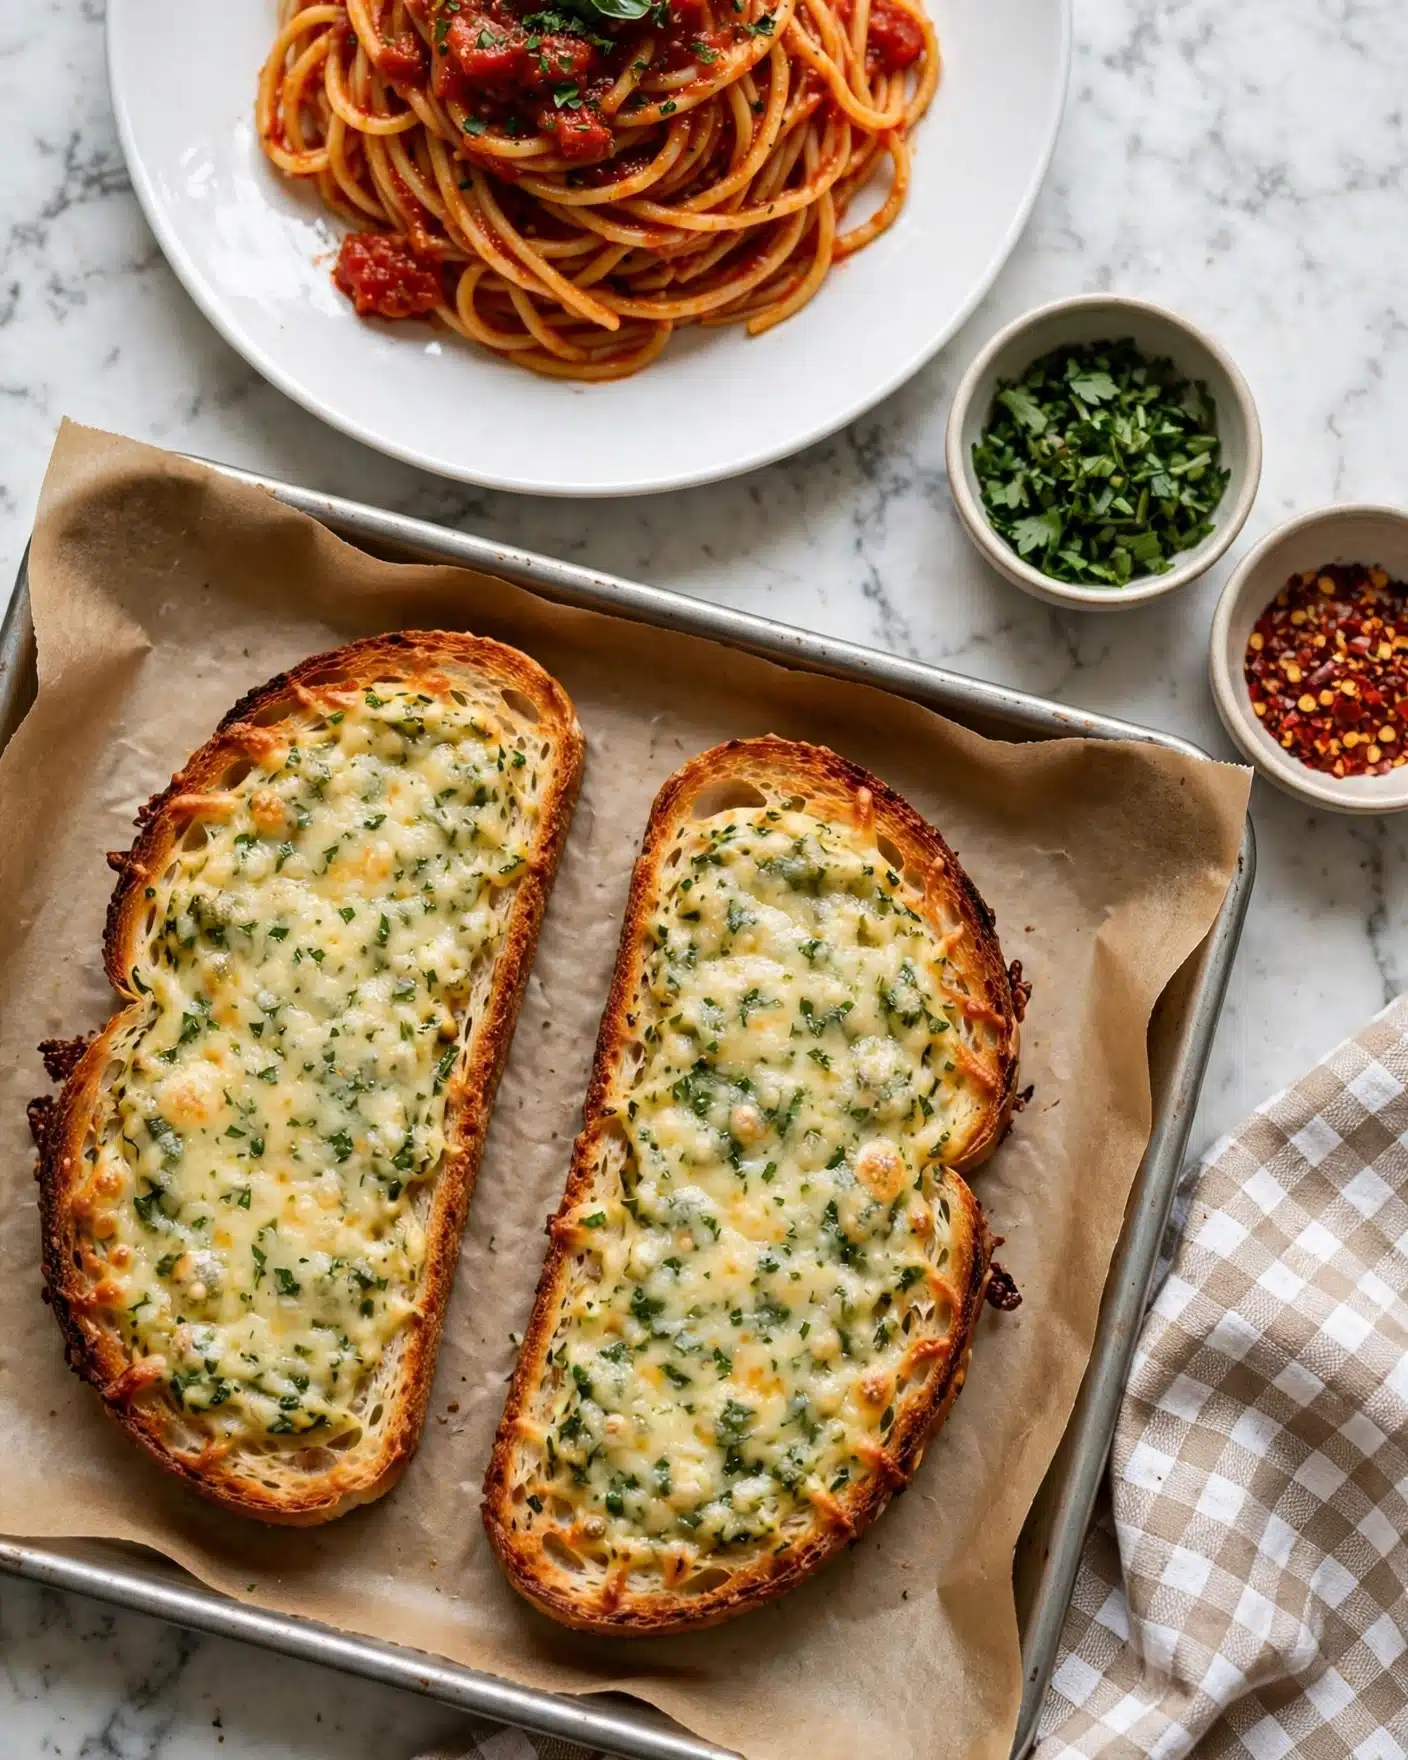
Garnishes
Sprinkle freshly chopped parsley or a light dusting of parmesan cheese right before serving to add a fresh, savory finish. For those who like a little heat, crushed red pepper flakes bring bold flavor and a lovely pop of color that makes this dish both beautiful and tasty.
Side Dishes
This Homemade Garlic Bread Recipe pairs wonderfully with Italian classics like tomato basil pasta or creamy Alfredo. It’s also perfect as a crunchy side for salads, soups, or hearty stews, adding a buttery, garlicky touch that elevates every meal.
Creative Ways to Present
Try serving your garlic bread cut into bite-sized cubes along with a flavorful dip like marinara sauce, spinach artichoke dip, or a creamy herb dressing. For a party, stack slices on a platter with fresh herbs scattered on top. You can even build mini garlic bread sandwiches with sliced mozzarella and tomato for a fun twist!
Make Ahead and Storage
Storing Leftovers
If you have any leftover garlic bread, store it tightly wrapped at room temperature or in the refrigerator for up to three days. Keeping it well-covered prevents it from drying out and preserves the wonderful garlicky aroma for your next snack.
Freezing
For longer storage, wrap your homemade garlic bread tightly in plastic wrap and then foil before freezing. That way, it stays fresh and flavorful for up to three months. When you’re ready to enjoy it, thaw overnight in the refrigerator to preserve texture.
Reheating
To bring leftover or frozen garlic bread back to life, heat it in a preheated oven at 350ºF (175ºC) for about 10 minutes, or until warmed through and crisp again. Avoid microwaving when possible; the oven keeps the crust crunchy and buttery melt-in-your-mouth perfect.
FAQs
Can I use regular garlic powder instead of fresh garlic?
While fresh garlic gives the best flavor and aroma, you can substitute garlic powder in a pinch. Use about 1 to 1 ½ teaspoons and mix it well with softened butter. Just know that the flavor will be less vibrant and fresh.
What kind of bread works best for this recipe?
A crusty loaf like French baguette or Italian bread works best because it crisps on the outside while staying soft inside. Avoid very soft sandwich bread as it can become soggy and fall apart after baking.
Can I make this recipe dairy-free or vegan?
Absolutely! Swap the butter for a plant-based margarine or olive oil spread, and omit the parmesan cheese. Fresh garlic and parsley will still shine, creating a delicious vegan garlic bread experience.
How do I make this garlic bread extra garlicky?
If you love a strong garlic punch, increase the amount of fresh garlic to 5 or even 6 teaspoons. Just be mindful that baking mellows raw garlic flavors slightly, so a little extra can make a big difference.
Is it possible to add other herbs?
Yes, you can customize your garlic butter with herbs like basil, thyme, or oregano for a unique twist. Just add about a tablespoon of finely chopped herbs to your butter mixture before spreading.
Final Thoughts
There’s nothing quite like the cozy satisfaction of biting into warm, crispy, buttery garlic bread fresh from the oven. This Homemade Garlic Bread Recipe is simple, flexible, and incredibly delicious—making it a must-try for any garlic enthusiast or comfort food lover. Once you experience that perfect blend of fresh herbs, garlic, and melty butter on crusty bread, you’ll want to keep this recipe in your kitchen repertoire forever. Happy baking and even happier eating!
Print
Homemade Garlic Bread Recipe
- Total Time: 28 minutes
- Yield: 1 loaf (serves about 4 as a side)
Description
This homemade garlic bread recipe features a crusty loaf generously spread with a flavorful mixture of unsalted butter, fresh garlic, parsley, and optional parmesan cheese, baked to golden perfection. Perfect as a savory side or snack, this garlic bread is crispy on the edges and aromatic, offering a comforting, easy-to-make treat.
Ingredients
Garlic Butter Spread
- ½ cup (8 Tbsp; 113g) unsalted butter, softened
- 1 Tablespoon finely chopped fresh parsley
- 4 teaspoons finely minced fresh garlic (about 3 cloves)
- ¼ teaspoon flaky sea salt (or ⅛ teaspoon fine salt)
- optional: ⅓ cup (27g) freshly grated parmesan cheese
Bread
- 12-ounce (340g) loaf of crusty bread, sliced in half horizontally
- optional for garnish: pinch of crushed red pepper flakes
Instructions
- Preheat and prepare baking sheet: Preheat your oven to 400°F (204°C). Line a baking sheet with parchment paper or a silicone baking mat to prevent sticking and make cleanup easier. Place both halves of the bread on the sheet with the cut side facing up.
- Mix garlic butter: In a bowl, using a handheld or stand mixer fitted with a paddle attachment, beat together the softened butter, chopped parsley, minced garlic, sea salt, and parmesan cheese (if using) on medium-high speed until well combined and smooth. Alternatively, if your butter is soft enough, you can simply mash all ingredients together with a fork until fully incorporated.
- Spread butter on bread: Evenly spread the prepared garlic butter mixture over the cut sides of the bread halves, ensuring thorough coverage for maximum flavor.
- Bake the bread: Place the baking sheet in the preheated oven and bake the garlic bread for 16–18 minutes, or until the edges turn crispy and golden brown. For a crunchier texture, you can extend the baking time by a few more minutes, keeping a close eye to prevent burning.
- Cool and slice: Once baked, let the garlic bread cool on the baking sheet for a few minutes until it is cool enough to handle. Transfer it to a cutting board, optionally sprinkle with crushed red pepper flakes, and then slice the bread into individual pieces using a serrated bread knife. Serve warm for best taste.
- Store leftovers: Store any leftover garlic bread tightly wrapped at room temperature or in the refrigerator. It will keep fresh for up to 3 days, making it convenient for later enjoyment.
Notes
- For an extra cheesy taste, add more parmesan cheese or other cheeses like mozzarella before baking.
- The recipe serves 1 but can be easily scaled up depending on the number of servings required.
- Adjust the amount of garlic based on your preference for a milder or stronger flavor.
- To enhance the texture, you can broil for the last 1–2 minutes but watch carefully to avoid burning.
- Best served fresh but can be reheated in the oven for a few minutes to restore crispness.
- Prep Time: 10 minutes
- Cook Time: 18 minutes
- Category: Side Dish
- Method: Baking
- Cuisine: Italian-American


Leave a Reply